Here’s where you start. Follow our easy steps to set up your Shopify store’s branding.
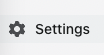
1. Within your shopify store admin panel, click on ‘settings’ at the bottom left of the page.
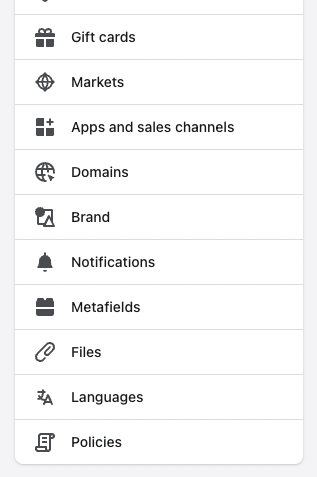
2. Within your store settings, you’ll find a list of options on the left-hand menu. Select ‘brand’ from this menu.
3. Within the brand tab you’ll find 6 sections; Logos, Colours, Cover Image, Slogan, Short Description and Social Links.
Wondering which are essential for your store? Luckily Shopify has you covered. On the right-hand side is a useful guide to let you know what is most commonly used across apps and channels compared to what is only used by some apps and channels and therefore additional assets.
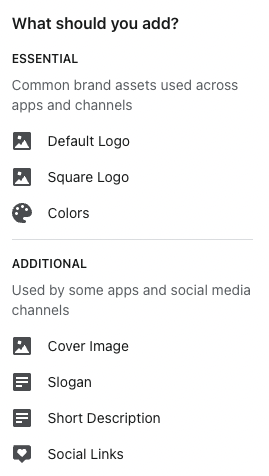
So, your essentials are a default logo, a square logo and your brand colours.
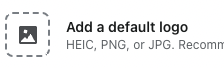
Start by adding your default logo. Click the plus icon next to ‘Add a default logo’ and follow the instructions to upload your brand logo. We recommend that your default logo has a width of 512px. Once uploaded, select ‘done’ to save your selection.
5. Next, add a square version of your logo. Follow the same process as before for your default logo or if your default logo was square then you can reuse the same file for the square logo upload. Shopify stores your previous uploads so you quickly select this logo again. We recommend that your square logo has dimensions of 512 x 512px. Once uploaded, select ‘done’ to save your selection.
6. Preview your logo. We recommend using the preview dropdown to see how your logo will look when used in different situations. If it gets cropped or you don’t like how it looks in preview then you can go back and upload new logos.
7. The last essential brand asset to add to your Shopify store is your brand colours. We suggest you add at least a primary and secondary colour.
8. To select your primary colour, click on the plus icon next to ‘Add a primary colour’. This will open up a colour swatch tab. You can select a colour using the colour chart or if you know the colour hex code, simply enter it into the input field and hit enter.
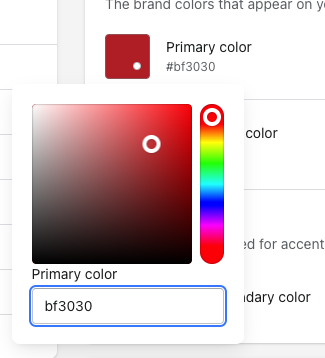
9. Next, add your secondary colour. Follow the same process as before.
If your brand has more than 2 colours, don’t worry! You can add multiple colours after completing the first 2 colour options.
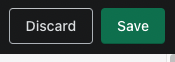
10. Once you have added your brand logos and colours, click save at the top right of the page and wait for the ‘save successful’ message to show before leaving or refreshing the page.
11. Once saved you’re done! Your essential brand assets will now be saved to your shopify store for you to use.
Need design beyond the basics for your Shopify store? Get in touch and we can chat about your strategy to improve your eCommerce conversion rate.
Shopify Remix
Latest Shopify News - Remix is a free, React based framework that allows developers to build Headless websites quickly.
December 2022 | Gabriele Rucinskaite